
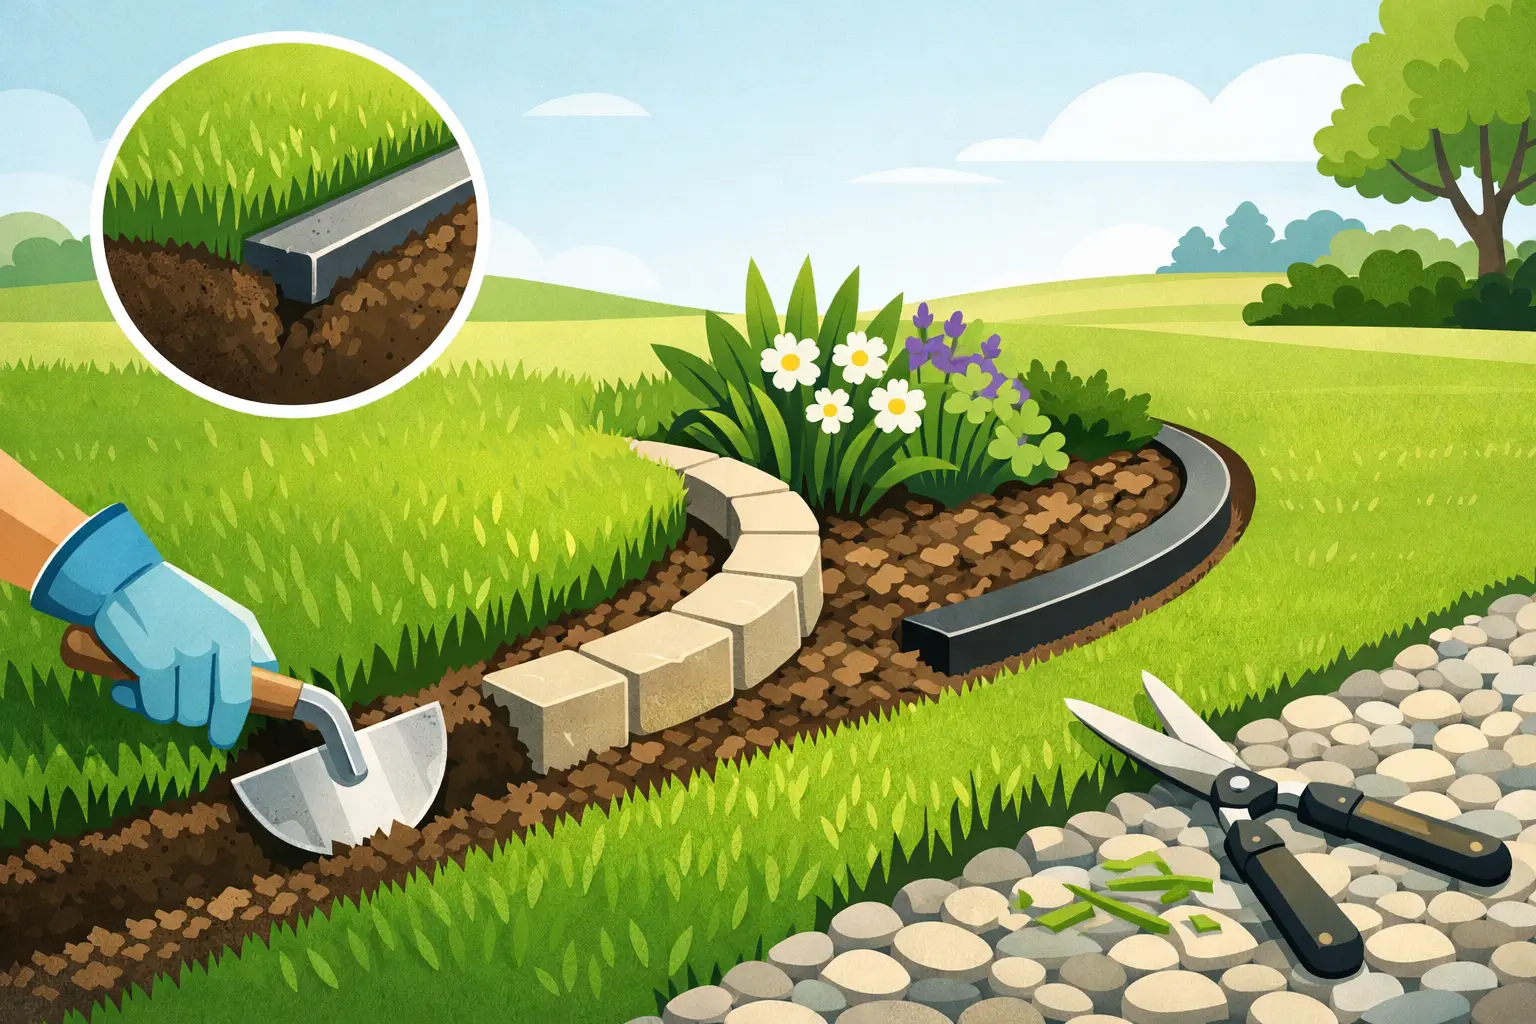
A lawn can be freshly mown and still look unfinished when the edges are uneven, overgrown or poorly defined. Knowing how to create lawn borders gives the whole property a cleaner, more cared-for appearance, while also making mowing, weeding and garden maintenance easier.
The best border is not always the most expensive one. It needs to suit the shape of your garden, the style of your home, the amount of maintenance you are willing to do and how the area is used. A neat edge around a front lawn may need a very different solution from a border beside a driveway, vegetable patch or commercial entrance.
Start with a border that has a job to do
Before choosing materials, decide what the lawn border needs to achieve. Some borders are mainly visual, creating a crisp line between grass and garden beds. Others need to hold back mulch, separate lawn from gravel, stop soil washing onto paths or provide a solid mowing edge.
This matters because a shallow plastic edge may be fine around a lightly planted garden bed, but it will not cope well beside a gravel path or an area that gets regular foot traffic. Likewise, a raised timber edge can look tidy at first but may become a mowing obstacle if it sits too high above the lawn.
Walk around the property and look at the problem areas. Consider where grass creeps into beds, where mulch spills out, where the mower struggles to reach, and where a clearer line would improve the view from the street. On Hawke’s Bay properties, it is also worth thinking about dry summers, heavy rain events and the effects of strong sun on exposed materials.
Choose a material that suits the space
There is no single right answer when creating lawn borders. The most practical option is the one that works with your garden and can be maintained properly over time.
Steel edging for clean, modern lines
Steel edging creates a slim, sharp line and works especially well for curved beds, formal lawns and contemporary landscaping. Once installed correctly, it is durable and takes up very little visual space. It can also sit close to lawn level, allowing a mower wheel to run along the edge and reducing the need for hand trimming.
The trade-off is that steel needs accurate installation. If sections are not secured well or the ground is poorly prepared, the line can shift, lift or look wavy. Edges should be planned carefully before digging, as small mistakes stand out once the lawn and garden are established.
Pavers, bricks and concrete for hard-wearing edges
Pavers and bricks are a good choice around paths, driveways, patios and high-use outdoor areas. They give a defined finish and create a firm boundary between lawn and garden. A well-laid paver edge can also act as a mowing strip, saving time during regular lawn care.
This option usually requires more excavation and base preparation than flexible edging. The ground needs to be level, compacted and drained properly so pavers do not sink or move. It costs more upfront, but it is often a sensible investment where durability and a solid, polished look matter most.
Timber for natural, raised garden beds
Timber edging can suit cottage-style gardens, vegetable areas and raised planting beds. It adds warmth and makes changes in level more obvious, which can be useful where soil needs to be retained.
However, timber is not a fit-and-forget material. Even treated timber eventually weathers, particularly where it stays in contact with damp soil. Choose quality materials, allow for drainage and keep the edge low enough that it does not make mowing difficult. Avoid using old treated timber around edible gardens unless you know it is suitable for that purpose.
Plastic or composite edging for simple curves
Plastic and composite products can be useful for simple garden borders, particularly when working around gentle curves. They are often more affordable and quicker to install than masonry, but quality varies greatly.
Thin edging can become brittle in harsh sun, lift out of the ground or flex under pressure from soil and roots. For a long-lasting result, choose a sturdy product with proper stakes and install it deep enough to stop lawn runners pushing through.
Mark the shape before you dig
A border should make the garden look intentional, not accidental. Take time to set out the shape first using a garden hose, rope, spray marker or timber stakes. This lets you stand back and check the line from the house, driveway and street before any digging begins.
Curves usually look best when they are broad and flowing rather than tight and wobbly. A narrow, fussy curve is harder to mow and often makes a small garden feel cluttered. Straight lines can work well beside fences, buildings and formal paths, but they need to be truly straight to look right.
Keep future maintenance in mind as you mark out the edge. Leave enough room for the mower to follow the border where possible. If a garden bed is very narrow, it may be difficult to keep lawn out of it without constant trimming. Widening the bed slightly can make the entire area easier to manage and give plants more room to grow.
How to create lawn borders step by step
Once the layout is marked, the installation process depends on the material, but the groundwork follows the same basic principles.
First, cut through the turf along the marked line with a sharp spade or edging tool. Remove the grass and roots from the border trench rather than simply folding turf back into the garden bed. Leftover runners will quickly find their way into loose soil and mulch.
Next, excavate to the depth required for your edging. For metal or plastic edging, this may be a narrow trench. For bricks, pavers or concrete, allow enough depth for a stable compacted base as well as the finished material. Check the height regularly as you work. A border that sits too high catches mower wheels and looks disconnected from the lawn, while one set too low can fill with soil and mulch.
Level and compact the base where needed, especially under hard edging. Sand, crushed aggregate or a prepared bedding layer may be required depending on the product. Take your time here. Most movement, dipping and uneven lines can be traced back to a rushed base.
Install the edging in manageable sections, checking alignment from several angles. Use a string line for straight runs and step back often on curves. Secure stakes or joins firmly, then backfill both sides and compact the soil gently. Finish the garden bed with mulch, keeping it below the top of the edging so it stays contained after rain and watering.
Make the border work with your lawn care routine
Even a well-built border needs occasional attention. Grass will test every gap, mulch will shift, and soil can settle after wet weather. A quick check while mowing can prevent a minor issue becoming a larger repair.
For a crisp edge, trim any grass that grows over the border before it roots into the garden bed. Refill mulch as it breaks down, but do not pile it against timber or bury the edge completely. Check pavers for movement and reset them early if you notice sinking. With steel edging, inspect joins and stakes after periods of ground movement or heavy rain.
A practical border should reduce maintenance, not create another weekend job. If you find yourself constantly whipper-snipping around awkward raised edges, the design may need adjusting. Often, setting the edge lower, widening a bed or adding a mowing strip will make the space far easier to keep tidy.
When professional installation is worth it
DIY lawn edging is achievable for short, simple borders on level ground. It becomes more demanding when the project involves retaining soil, shaping large curves, working around drainage, installing pavers, or preparing ground that is uneven and compacted.
Professional installation is also worth considering when the border is part of a wider garden upgrade. Combining edging with new planting, lawn preparation, paths or hardscaping produces a more consistent result than tackling each part separately. Kandu Gardens can assess the site, recommend materials that suit the job and complete the groundwork needed for an edge that stays straight, secure and useful.
The most effective lawn borders are the ones you barely have to think about afterwards. Choose a material that suits the property, prepare the ground properly and give the edge a clear purpose, and your lawn will look sharper every time it is cut.
Leave a Reply