
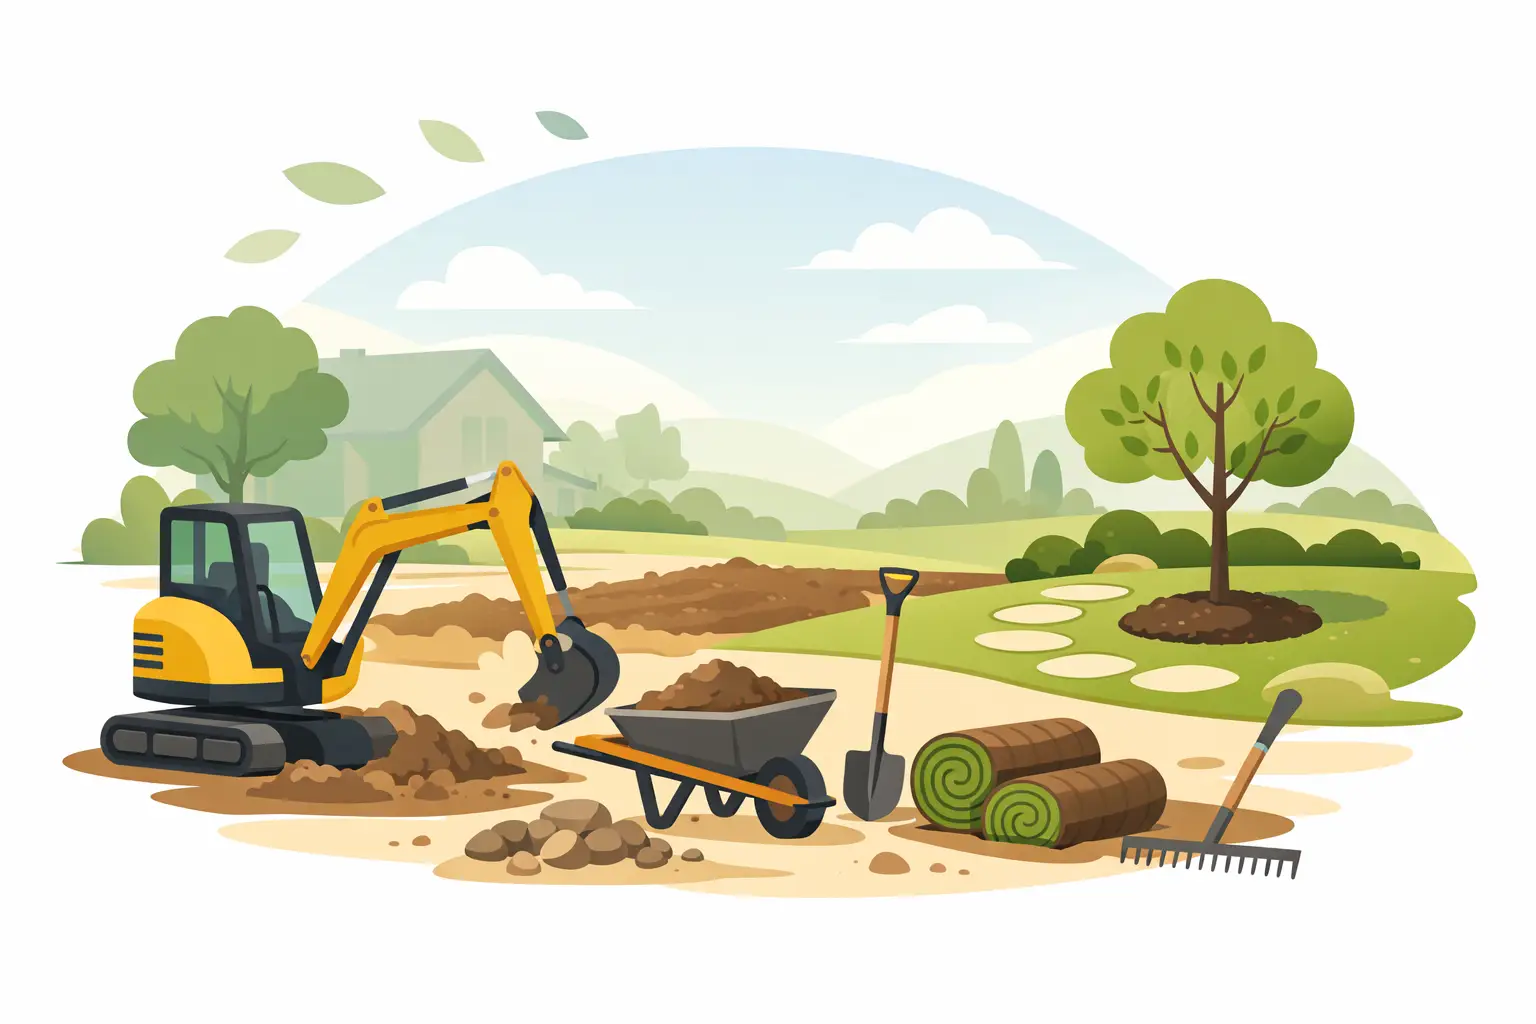
A landscaping job can look excellent on day one and still fail six months later if the ground underneath was rushed. Uneven levels, poor drainage, compacted soil, and old roots left in place are usually what cause patchy lawns, sinking pavers, struggling plants, and ongoing maintenance headaches. If you want to know how to prepare ground for landscaping properly, the real work starts well before the planting, edging, or hardscaping goes in.
Good ground preparation is what gives a finished outdoor space its shape, strength, and staying power. Whether you are planning a new lawn, garden beds, decorative stone, paving, or a full outdoor upgrade, the same rule applies: get the base right first.
Why ground prep matters more than most people expect
The visible part of landscaping gets the attention, but the hidden work is what determines the result. A clean, level, well-prepared site makes planting easier, improves drainage, helps turf establish faster, and reduces the chance of movement or erosion later on.
This is also where many property owners lose time and money by underestimating the site. What looks like a simple patch of bare ground may be full of old roots, buried rubble, compacted clay, low spots, or drainage issues. Fixing those problems after the landscaping is installed is always harder and more expensive than dealing with them upfront.
How to prepare ground for landscaping in the right order
The best approach is systematic. Each stage sets up the next one, and skipping steps usually shows in the final result.
Start by assessing the site
Before any digging begins, look closely at what is already there. Check the slope of the land, where water sits after rain, how much sun the area gets, and whether there are trees, stumps, roots, old garden edging, concrete fragments, or overgrown vegetation to remove.
It also helps to be clear about the end use of the space. Ground prepared for lawn is different from ground prepared for paving or retaining work. Garden beds need healthy, workable soil, while hardscaping needs a stable, compacted base. One area may need imported topsoil, while another may need excavation and fill. The prep depends on the purpose.
Clear the area properly
Clearing means more than mowing it short. Grass, weeds, loose debris, old mulch, branches, and surface rubbish all need to be removed so you can see the actual ground conditions.
If the site has heavy overgrowth, woody weeds, or old stumps, they should be dealt with thoroughly rather than cut back and left beneath the surface. Buried roots and stump material can interfere with planting, create soft spots, and cause regrowth. On some sites, stump grinding or light excavation is the cleanest way to create a workable base.
This is also the time to remove unwanted rocks, broken concrete, leftover building material, and anything else that will get in the way of levelling or planting.
Deal with drainage before anything else
Poor drainage ruins more landscaping projects than most people realise. If water ponds near the house, runs across paths, or sits in low sections of the yard, that needs to be corrected before soil, turf, or paving goes down.
Sometimes the fix is simple grading so surface water moves away naturally. In other cases, it may require drainage channels, a soak pit, pipework, or excavation to reshape the site. Clay-heavy ground can be especially tricky because it holds water and compacts easily. Sandy soil drains faster, but it may not hold structure or nutrients as well.
There is no one-size-fits-all solution here. What works in one Hawke’s Bay property may not suit another, especially if the block has existing hard surfaces, mature trees, or uneven levels. The important part is making sure water has somewhere to go.
Get the levels and shape right
Once the site is cleared, the ground needs to be cut, filled, or graded to create the correct levels. This is where the layout starts to take shape.
For lawns, you want a smooth, even finish with a gentle fall for drainage. For garden beds, the shape should complement the property while allowing water to drain without washing soil away. For paving or hardscape areas, levels are more exact because finished surfaces need proper fall, stable edges, and a solid base beneath them.
This step often takes more patience than people expect. Ground that looks flat to the eye can still have dips and humps that become obvious once turf or aggregate goes in. A careful level check now saves frustration later.
Remove or relieve compaction
Compacted ground makes it difficult for roots to grow and water to move through the soil. It is common in areas that have had foot traffic, vehicle access, old building work, or long periods of neglect.
If the area is being planted or turfed, the soil should be loosened to a workable depth. That may mean rotary hoeing, turning the soil by hand, or breaking up compacted layers with machinery. The goal is not to leave it fluffy and unstable, but to open it up enough for roots, moisture, and air to move through.
For hardscaping, the opposite may be needed in the base layers. Those areas often require controlled compaction so the finished surface stays stable. This is why the intended use of the space matters so much during preparation.
Improve the soil for the job ahead
Healthy landscaping starts with suitable soil, not just existing dirt spread around the yard. Once the ground is cleared and shaped, assess the soil quality. If it is heavy clay, low in organic matter, full of stones, or lacking depth, it may need improvement before planting or lawn seeding.
For garden beds, adding quality compost or organic matter can improve structure, help moisture retention, and support plant health. For lawns, a suitable topsoil layer creates a better seedbed and gives new grass a stronger start. If the area is too poor or contaminated with rubble, imported soil may be the better option.
This is also where pH and plant choice come into play. Some sites can support a wide range of planting with minor improvement. Others need more targeted soil work depending on what is being installed. There is no value in spending money on plants if the ground is not ready to support them.
Edge and define the space
A well-prepared site is easier to manage when different areas are clearly separated. Edging helps hold lawn lines, contain mulch or stone, and keep garden beds looking tidy.
It also makes the project look intentional rather than unfinished. Whether the boundary is cut into the soil or built with timber, metal, concrete, or another edging material, setting those lines early gives the landscaping a cleaner result and helps keep maintenance under control.
Prepare differently for lawns, beds, and hardscapes
One mistake people make when thinking about how to prepare ground for landscaping is assuming the whole site should be treated the same way. In practice, each zone needs its own base preparation.
Lawn areas need a fine, level top layer free of large stones and debris. Garden beds need open, enriched soil with enough depth for roots. Paved areas need excavation, basecourse, compaction, and precise levels. Decorative gravel needs weed control, firm subgrade, and often a stabilising edge. Mixing up these requirements usually leads to rework.
This is why larger projects benefit from planning the whole site before starting any one section. It is easier to get machinery access, drainage, and level transitions sorted at the beginning than after part of the job is already finished.
Don’t ignore weeds and regrowth
Ground prep should leave the site clean enough that new landscaping is not immediately competing with old problems. Perennial weeds, invasive roots, and regrowth from cut-back vegetation can quickly spoil a new garden or lawn.
The right treatment depends on the weed type and the project timeline. In some cases, repeated removal and soil cultivation are enough. In others, a more controlled weed management approach is needed before planting starts. The key is not to bury the issue and hope for the best.
When it makes sense to bring in a professional
Some ground preparation can be handled on a small scale by a capable property owner, especially if the job is limited to light clearing and minor soil improvement. But once drainage problems, significant levelling, stump removal, excavation, or base preparation for hardscaping are involved, experience matters.
A professional can spot site issues early, use the right machinery without damaging surrounding areas, and prepare the ground to suit the finish you actually want. That often means fewer delays, less waste, and a result that lasts longer. For homeowners and property managers, it also removes the guesswork from one of the most labour-intensive parts of the job.
At Kandu Gardens, we see the difference proper preparation makes every time a tired or overgrown space is transformed into something clean, functional, and easy to maintain. The finish always gets the compliments, but the groundwork is what earns them.
If you are planning a landscaping project, treat the preparation stage as the foundation, not the warm-up. The better the ground is prepared, the better everything that follows will perform, from the first planting through to the long-term look of the space.